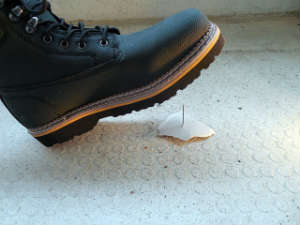
Last year, nail gun injuries landed 37,000 people in the emergency room, 25 years ago, this number was only around 4,000. Because there are so many different potential causes for injury, such as an accidental double fire, manufacturer’s issues, the nail backfiring off an object and hitting someone, or accidentally pressing the trigger, for example by being bumped into, it is difficult to avoid all the potential risk factors that come with using a nail gun. However, when an accident does happen, it is important to know the right steps to follow to treat an injury.
Circumstances Where Injuries Can Occur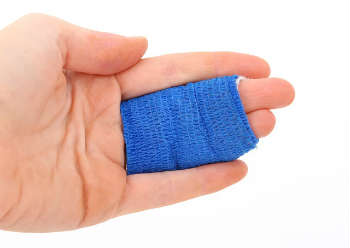
Prevention is the best cure, and it is wise to invest in a nail gun that requires a safety catch mechanism to be manually released before pressing the trigger, and then it catches again after firing, to avoid double firing. This is called a “sequential trip” trigger. Also, disconnect the compressed air when trying to remove a nail jam, or when handing the nail gun off. Lastly, always wear safety shoes, eye protection, and hard hats.
First Treatment Steps
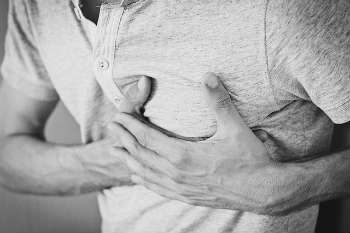
However, if it’s too late to think about “shoulds,” and the nail gun has caused a puncture wound, there are some immediate treatments one can perform before medical personnel arrives. Since 25% of nail gun injuries fracture bones and harm tendons, it’s important to be very careful when handling a nail gun injury, but it’s also important to act immediately.
First, survey the damage. Can the person still move the affected area? Is there bleeding from a major artery or vein? If not, wait for the bleeding to stop, and use clean fabric to apply direct pressure and stop the bleeding.
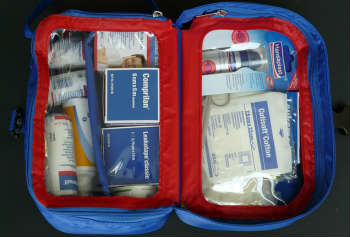
Then, making sure that hands are washed, clean the wound with water, optionally with mild ivory soap or rubbing alcohol. Apply a thin layer of antibacterial ointment on the wound on a consistent basis. Do not apply the ointment too heavily, because this attracts bacteria.
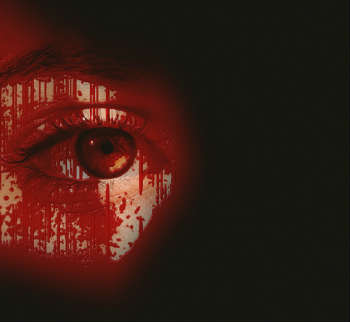
Steps To Follow In Cases Of Life-Threatening Wounds
If bleeding is so severe that action must be taken before the victim can get to a hospital, a tourniquet is recommended to stop the bleeding. The medical community is divided on the safety of tourniquets, but significant bleeding during a nail accident is a rationale for tourniquet use, according to ILCOR. Here is a quick guide:
- Worry more about putting direct pressure on the wound than about elevating it.
- Fold the top point of a triangular bandage down twice to create a broad fold bandage at least 1.5 inches wide so that it doesn’t damage tissue. (Other ‘tie-able’ material can be used as long as it is at least 1.5 inches wide, but an official tourniquet bandage is recommended.)
- The bandage should be tied around a single bone. For example, if the nail injury is on the lower part of the arm, which has two bones, then tie the bandage around the upper arm, which only has one bone. Always tie the tourniquet closer to the body than the wound is.
- Tie the bandage at least 2 inches away from the wound.
- Do not tie the bandage on a joint.
- Tie a knot. Then, place a stable object like a scissors or knife over the knot, and tie another knot so that the object is tied down. Twist the object to tighten the tourniquet (ideally, slowing or stopping the bleeding).
- Make sure the knotted object is held in place so that the tourniquet stays tight.
What To Expect At The Hospital
Medical professionals will apply an iodine antiseptic, and then inject the wound with an analgesic like lidocaine to relieve pain. By using medical equipment (called a doppler) to examine the surrounding arteries, they can determine the safest way to remove the nail. However, serious neurovascular injuries will need to be examined and treated by a hand surgeon. If the injury is less serious, once the nail is gone, staff will further sanitize and dress the wound.
After leaving the hospital, you’ll want to ensure that staff follows up to check on the healing progress.